Running a Python Kivy App as main Kiosk Application (Part 2)
In Part 1 (How to Set Up Ubuntu Linux as a Secure Kiosk or Self-Service Terminal), we set up a kiosk environment on Ubuntu Linux with GNOME Kiosk and OverlayFS.
In Part 2, we’ll build a simple Python Kivy app to run as our kiosk application. This part will cover the basics:
- Simple Python Kivy app (an app named KivyKioskClock, a basic clock showing the current time)
- Compiling / Freezing the app into a binary (covering PyInstaller and pycompile)
- Attaching this app to the kiosk session
Clock App
Let’s start by installing the dependencies we need — Python, Kivy, and Virtualenv.
Typically, I use apt to install Python and other top-level packages. For modules needed only by our app, I create a virtual environment and install them there.
Prepare your python environment by installing the following via apt:
sudo apt update
sudo apt install python3-dev python3-pip python3-venv
# on Ubuntu 24.04 we'll most likely get python3.12.3
Next, we need a name for our app – let’s go with KivyKioskClock. Based on this name, we’ll create our Python virtual environment. Assuming you’re in your home folder (cd ~), type the following command in your terminal:
python3 -m venv KivyKioskClock_env
To activate the virtual environment, run:
source KivyKioskClock_env/bin/activate
# new line in terminal now starts by displaying the active virtualenv:
#(KivyKioskClock_env) kivykiosk@kivy-kiosk-1:~$
Using a virtual environment lets you isolate all required modules and packages on a per-project basis. For example, you might have multiple projects that depend on the same package but need different versions. Installing these packages system-wide would be hard to manage and could easily cause conflicts. Instead, a virtual environment keeps each project’s interpreter and dependencies separate to avoid conflicts.
Now, let’s create a project folder for our app and navigate into it:
mkdir KivyKioskClock && cd KivyKioskClockThen, we install our project dependencies into the virtualenv using pip:
pip3 install Kivy
pip3 install pyinstaller
# we'll use pyinstaller later to package our app
Next, programming. Getting a simple clock is just a matter of a view lines, start by open a text editor...
gnome-text-editor kivy_kiosk_clock_app.py...and paste the following python code:
from kivy.app import App
from kivy.uix.label import Label
from kivy.clock import Clock
from kivy.core.window import Window
import time
class KivyKioskClock(Label):
def __init__(self, **kwargs):
super().__init__(**kwargs)
self.font_size = 65
self.halign = 'center'
self.bold = True
self.line_height = 1.5
self.color = (191/255, 64/255, 255/255, 1)
def update(self, *args):
self.text = time.strftime("%H:%M:%S\n%A – %B %d, %Y", time.localtime())
class KivyKioskClockApp(App):
def build(self):
kivyclock = KivyKioskClock()
Clock.schedule_interval(kivyclock.update, 1)
return kivyclock
if __name__ == "__main__":
Window.fullscreen = 'auto'
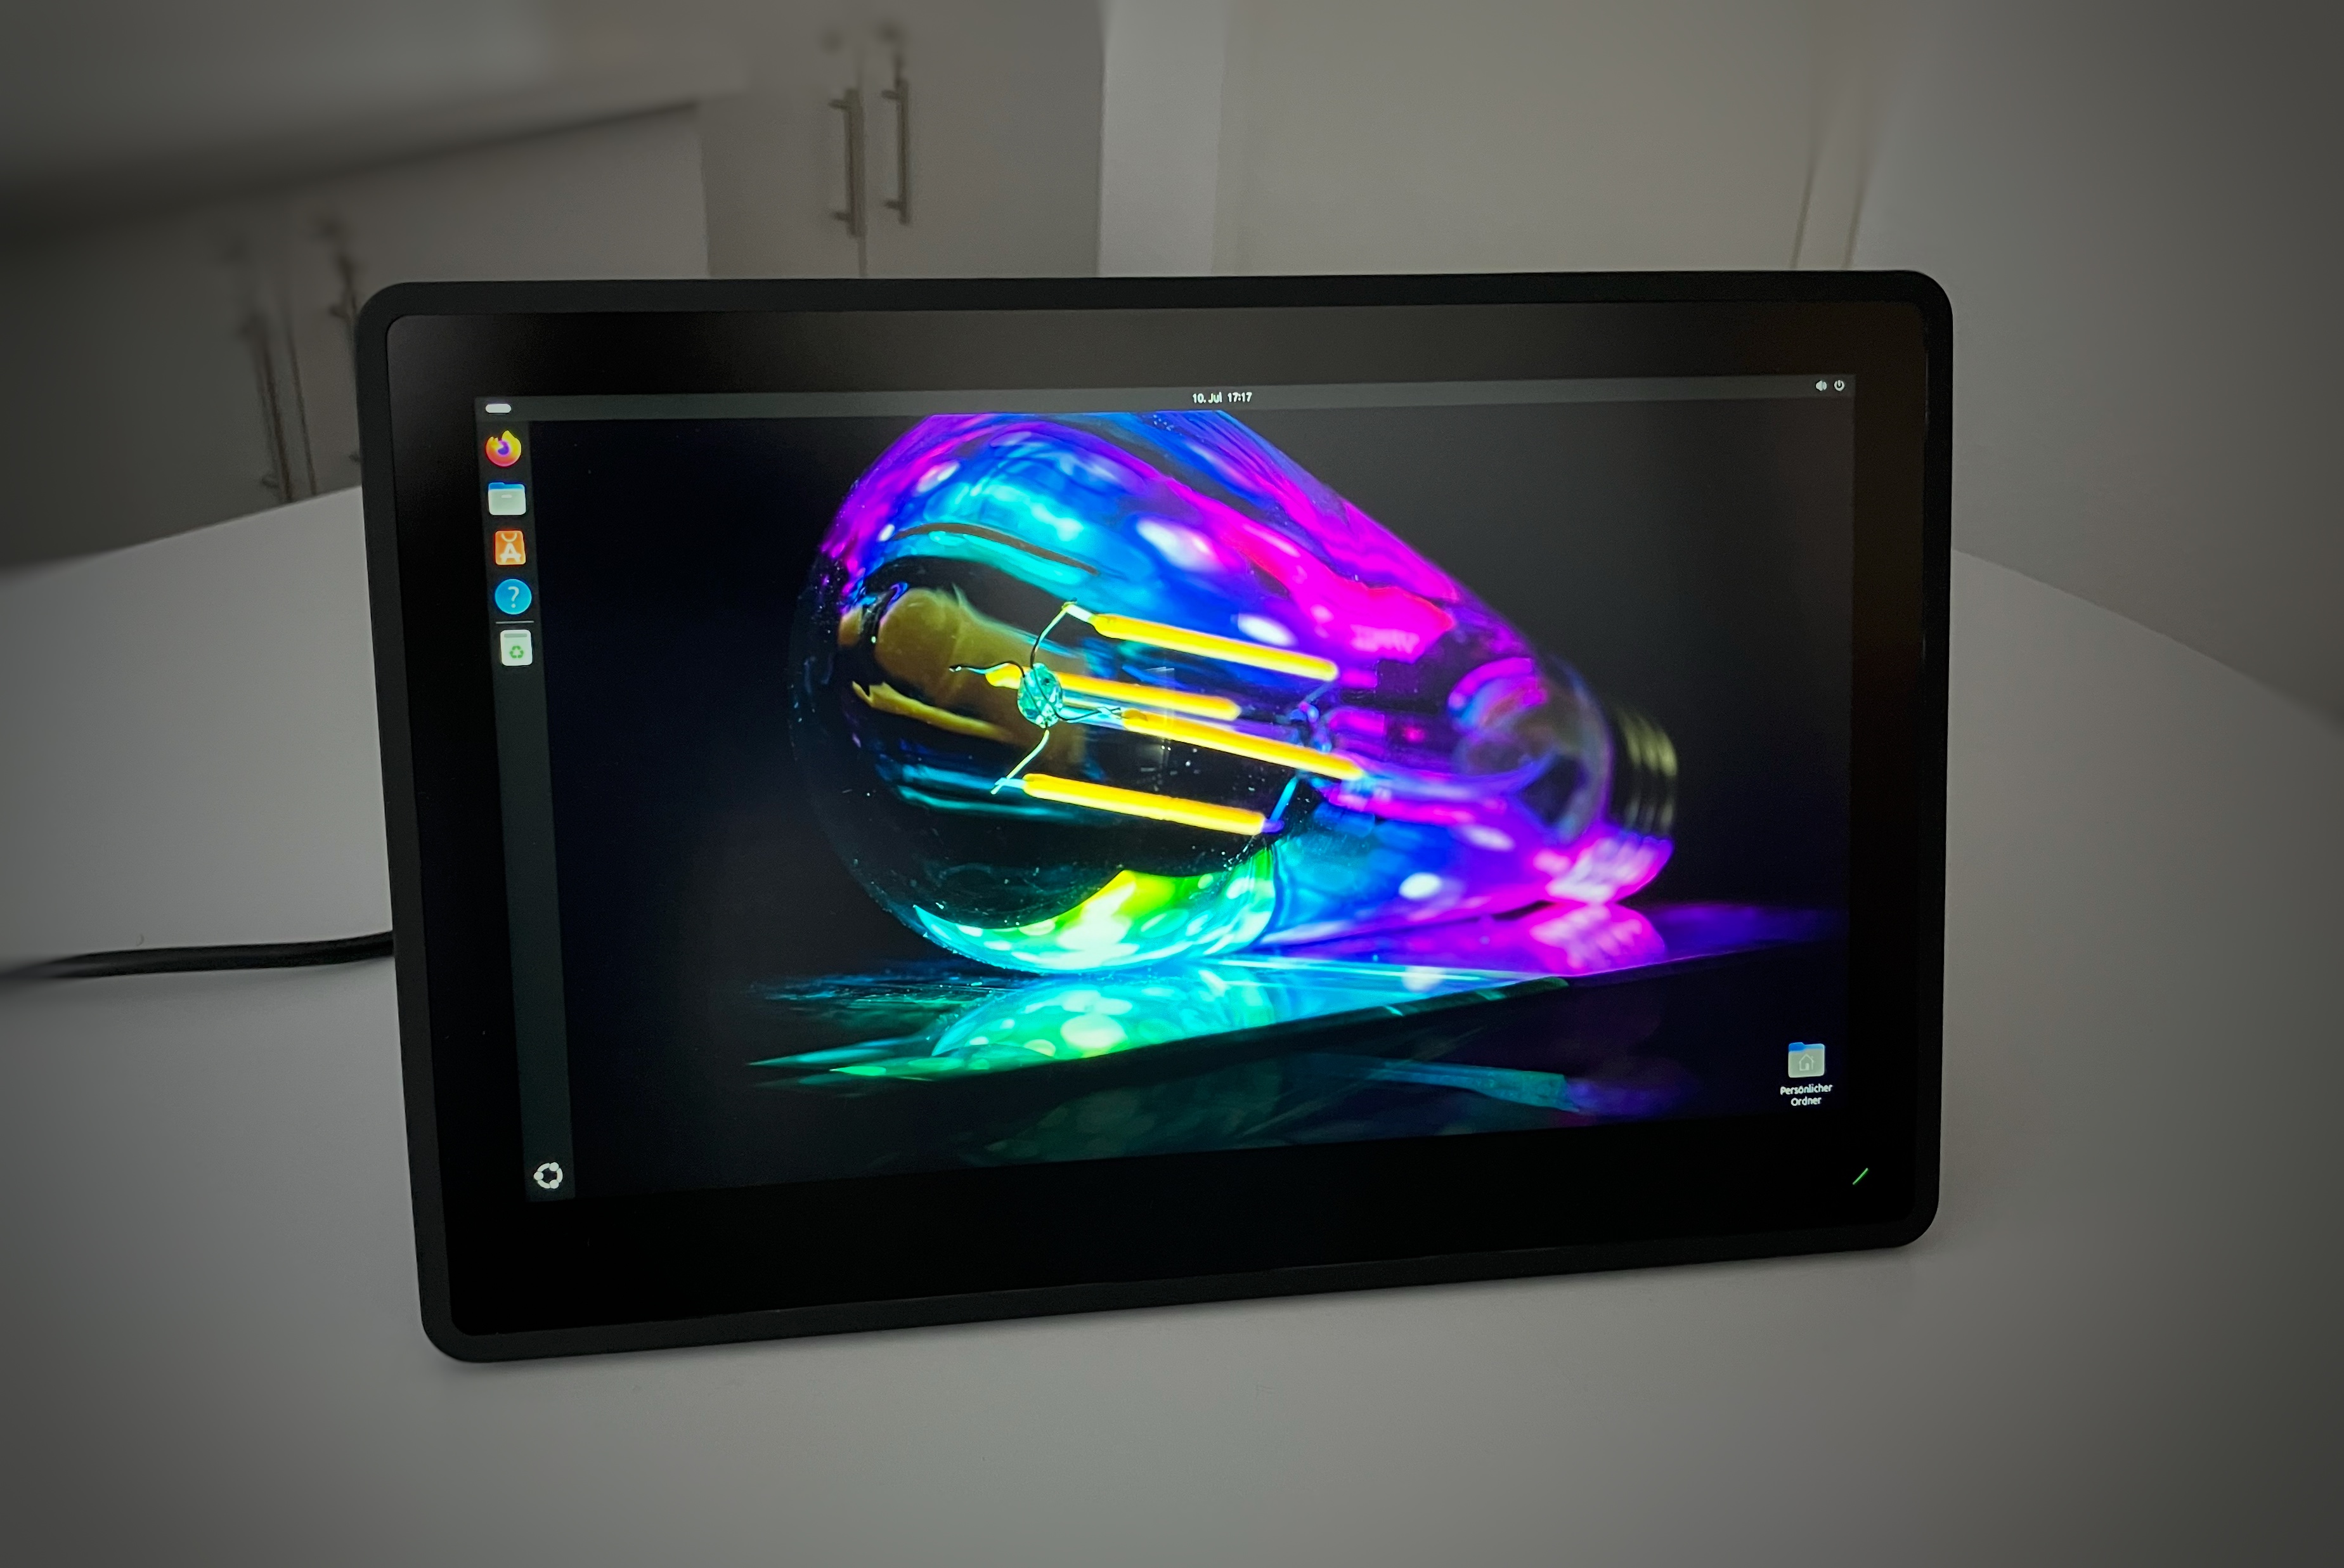
KivyKioskClockApp().run()Run it to make sure it works:
python3 kivy_kiosk_clock_app.py
# Quit by pushing the Esc key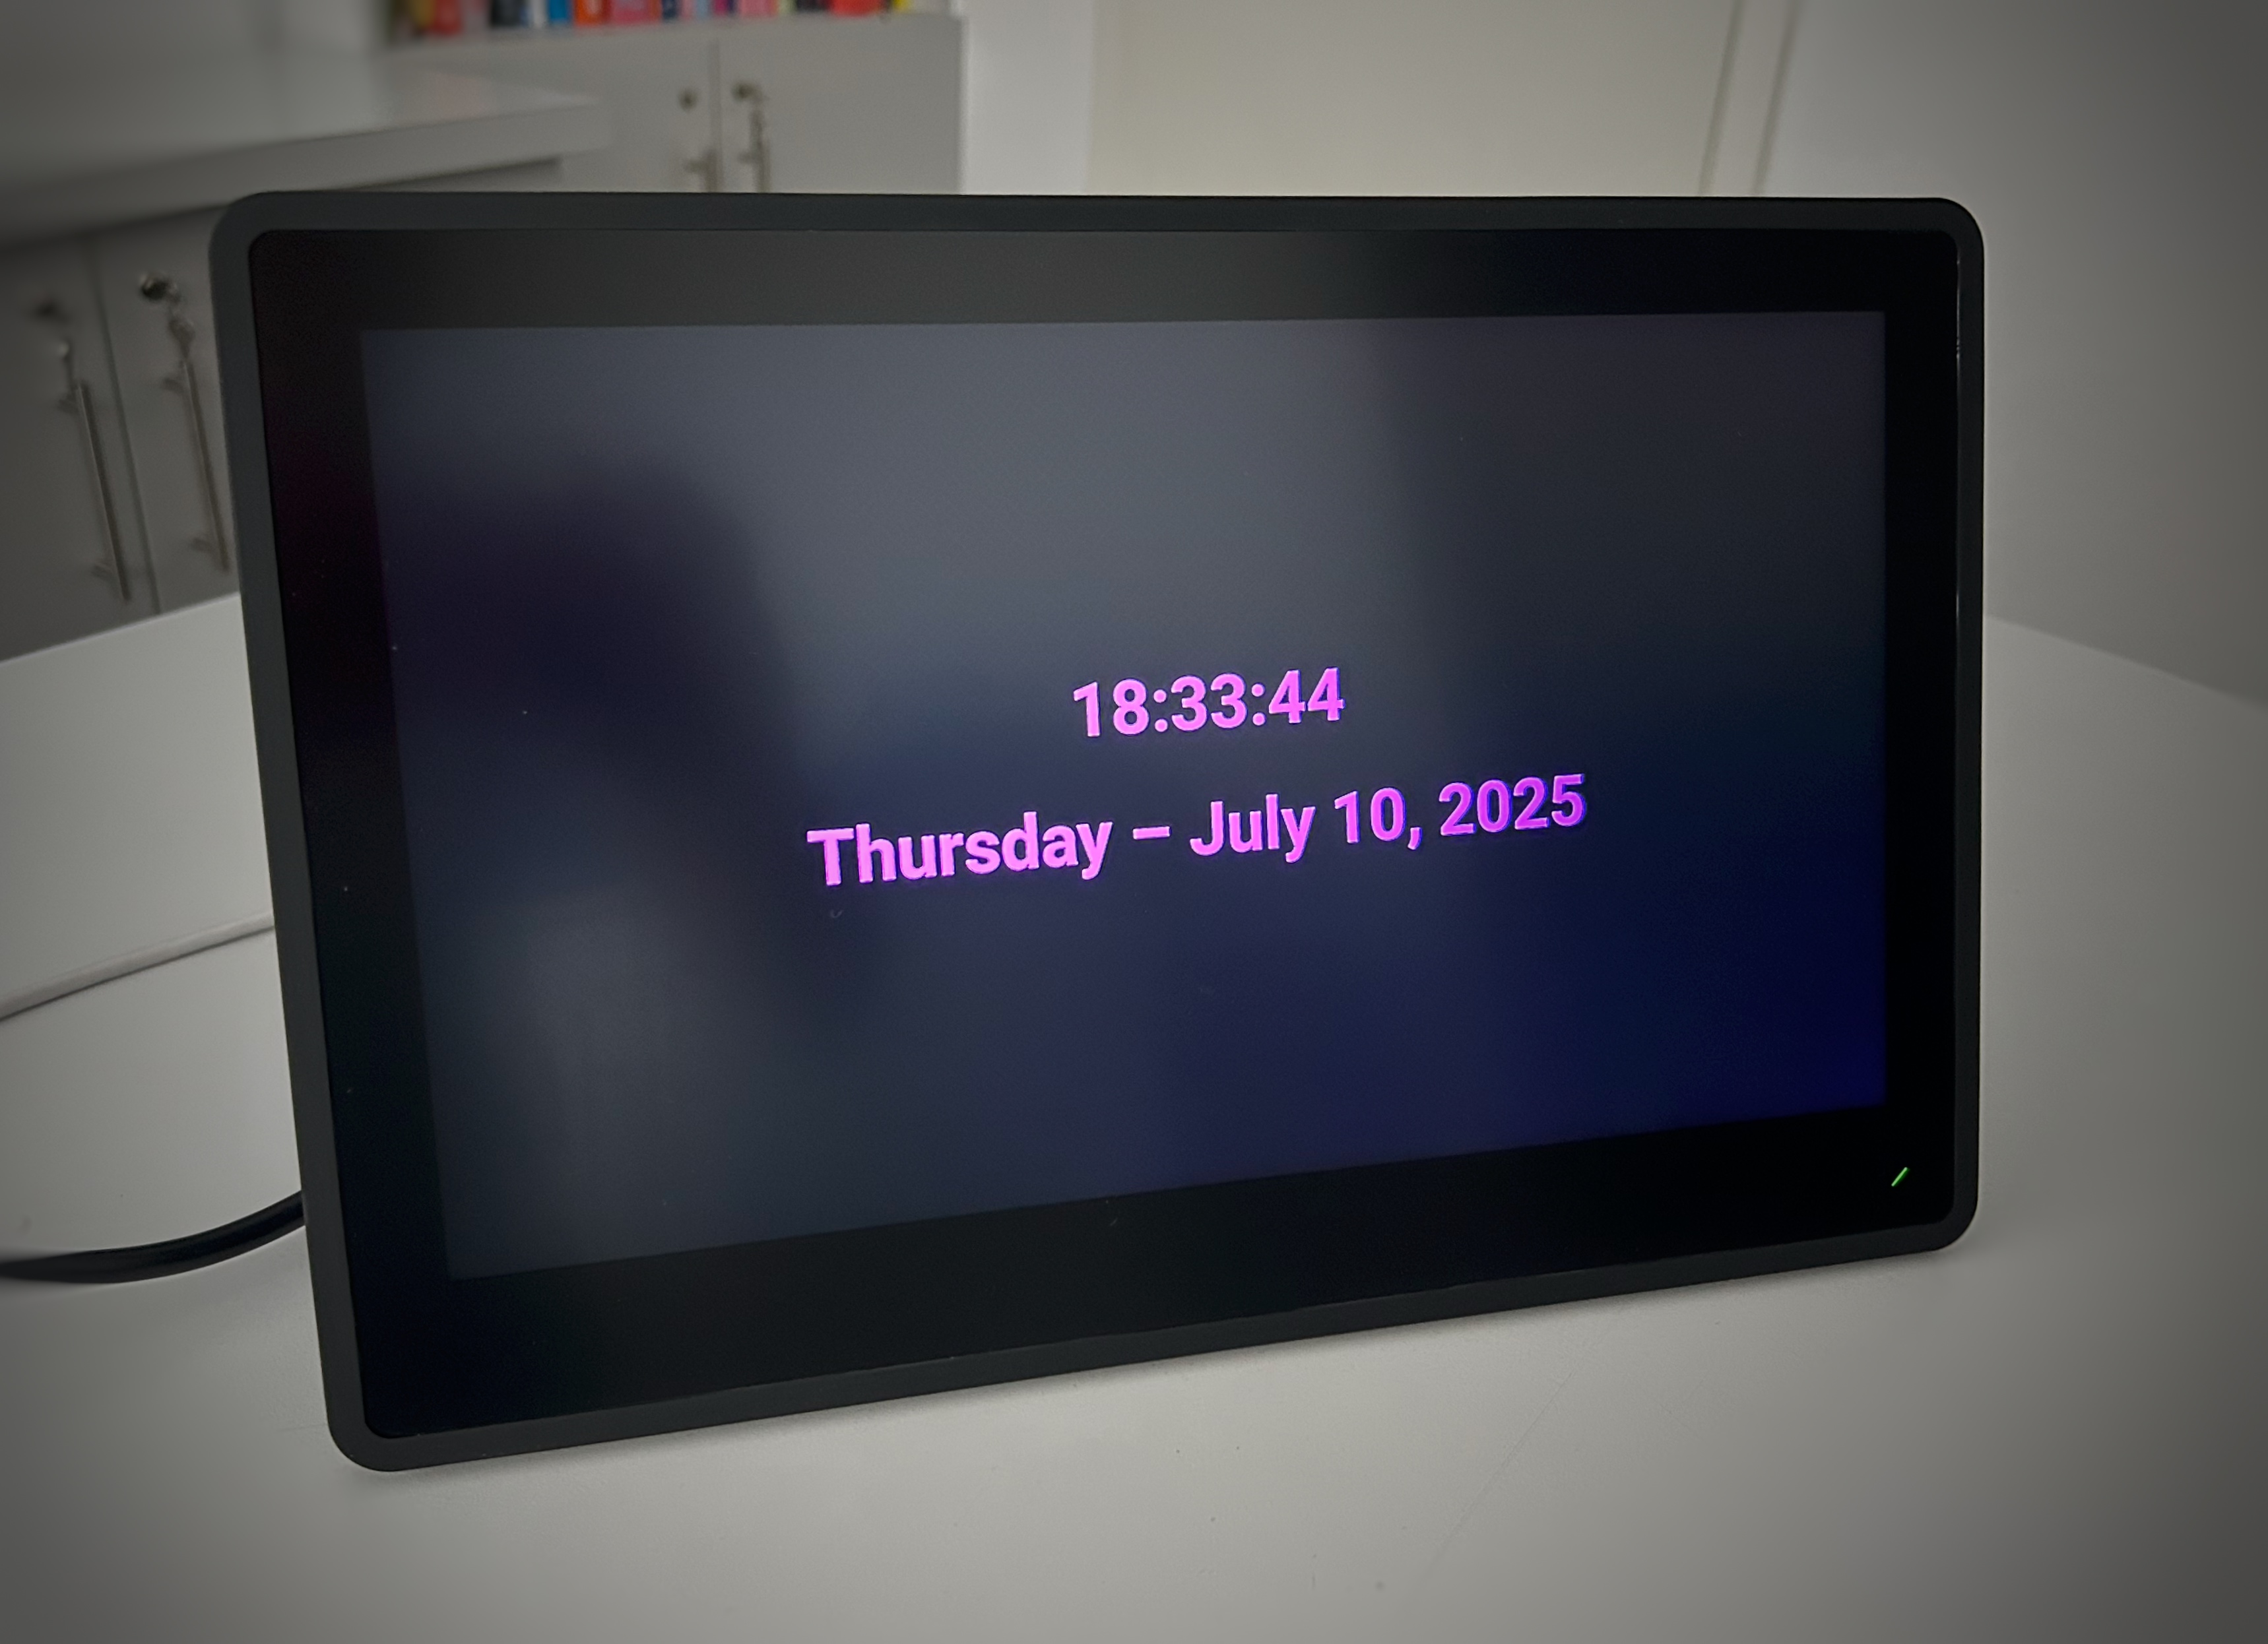
One of the important lines of code in our example above is Window.fullscreen = 'auto'. This tells Kivy to make the window fullscreen (if possible) and removes the window border and the window decorator. It also removes any OS frames or docks, even when moving the mouse's cursor to the top or bottom edges, no decorator or frame appears. That's exactly what we want for our kiosk application – Check ✅.
Freezing the KivyKioskClock app into a binary
We'll now look at two ways to "compile" (rather call it freezing) our sources into binaries. For this project, I am describing two methods, the first is based on PyInstaller, the second one on pycompile (it mainly uses python3 -m compileall and some shell commands. For our projects at work I am mainly referring to pycompile when using this method).
I have been using both methods in real-world projects and both come with their own pros and cons (which I am not going to discuss here, this is a separate topic for another post).
The main reason we want to freeze our source code into a binary is to avoid disclosing the source when distributing the app to multiple kiosk devices.
There’s no absolute need to freeze your source into a binary before attaching it to the GNOME Kiosk script, but in my experience, most of my contracting clients require it.
At the end of this post, I’ll also show a version of the GNOME Kiosk script that runs our KivyKioskClock app directly from source.
Bundling with PyInstaller
PyInstaller bundles a Python application and all its dependencies into a single package.
And that is exactly what we do now, we freeze our KivyKioskClock app into a standalone binary. Afterwards we attach this to the GNOME Kiosk session script.
PyInstaller is pretty straightforward and powerful – it can handle even huge Python projects. Of course, the more complex things get, the trickier it can be to set things up correctly to make everything work. But for our KivyKioskClock, it is easy to use.
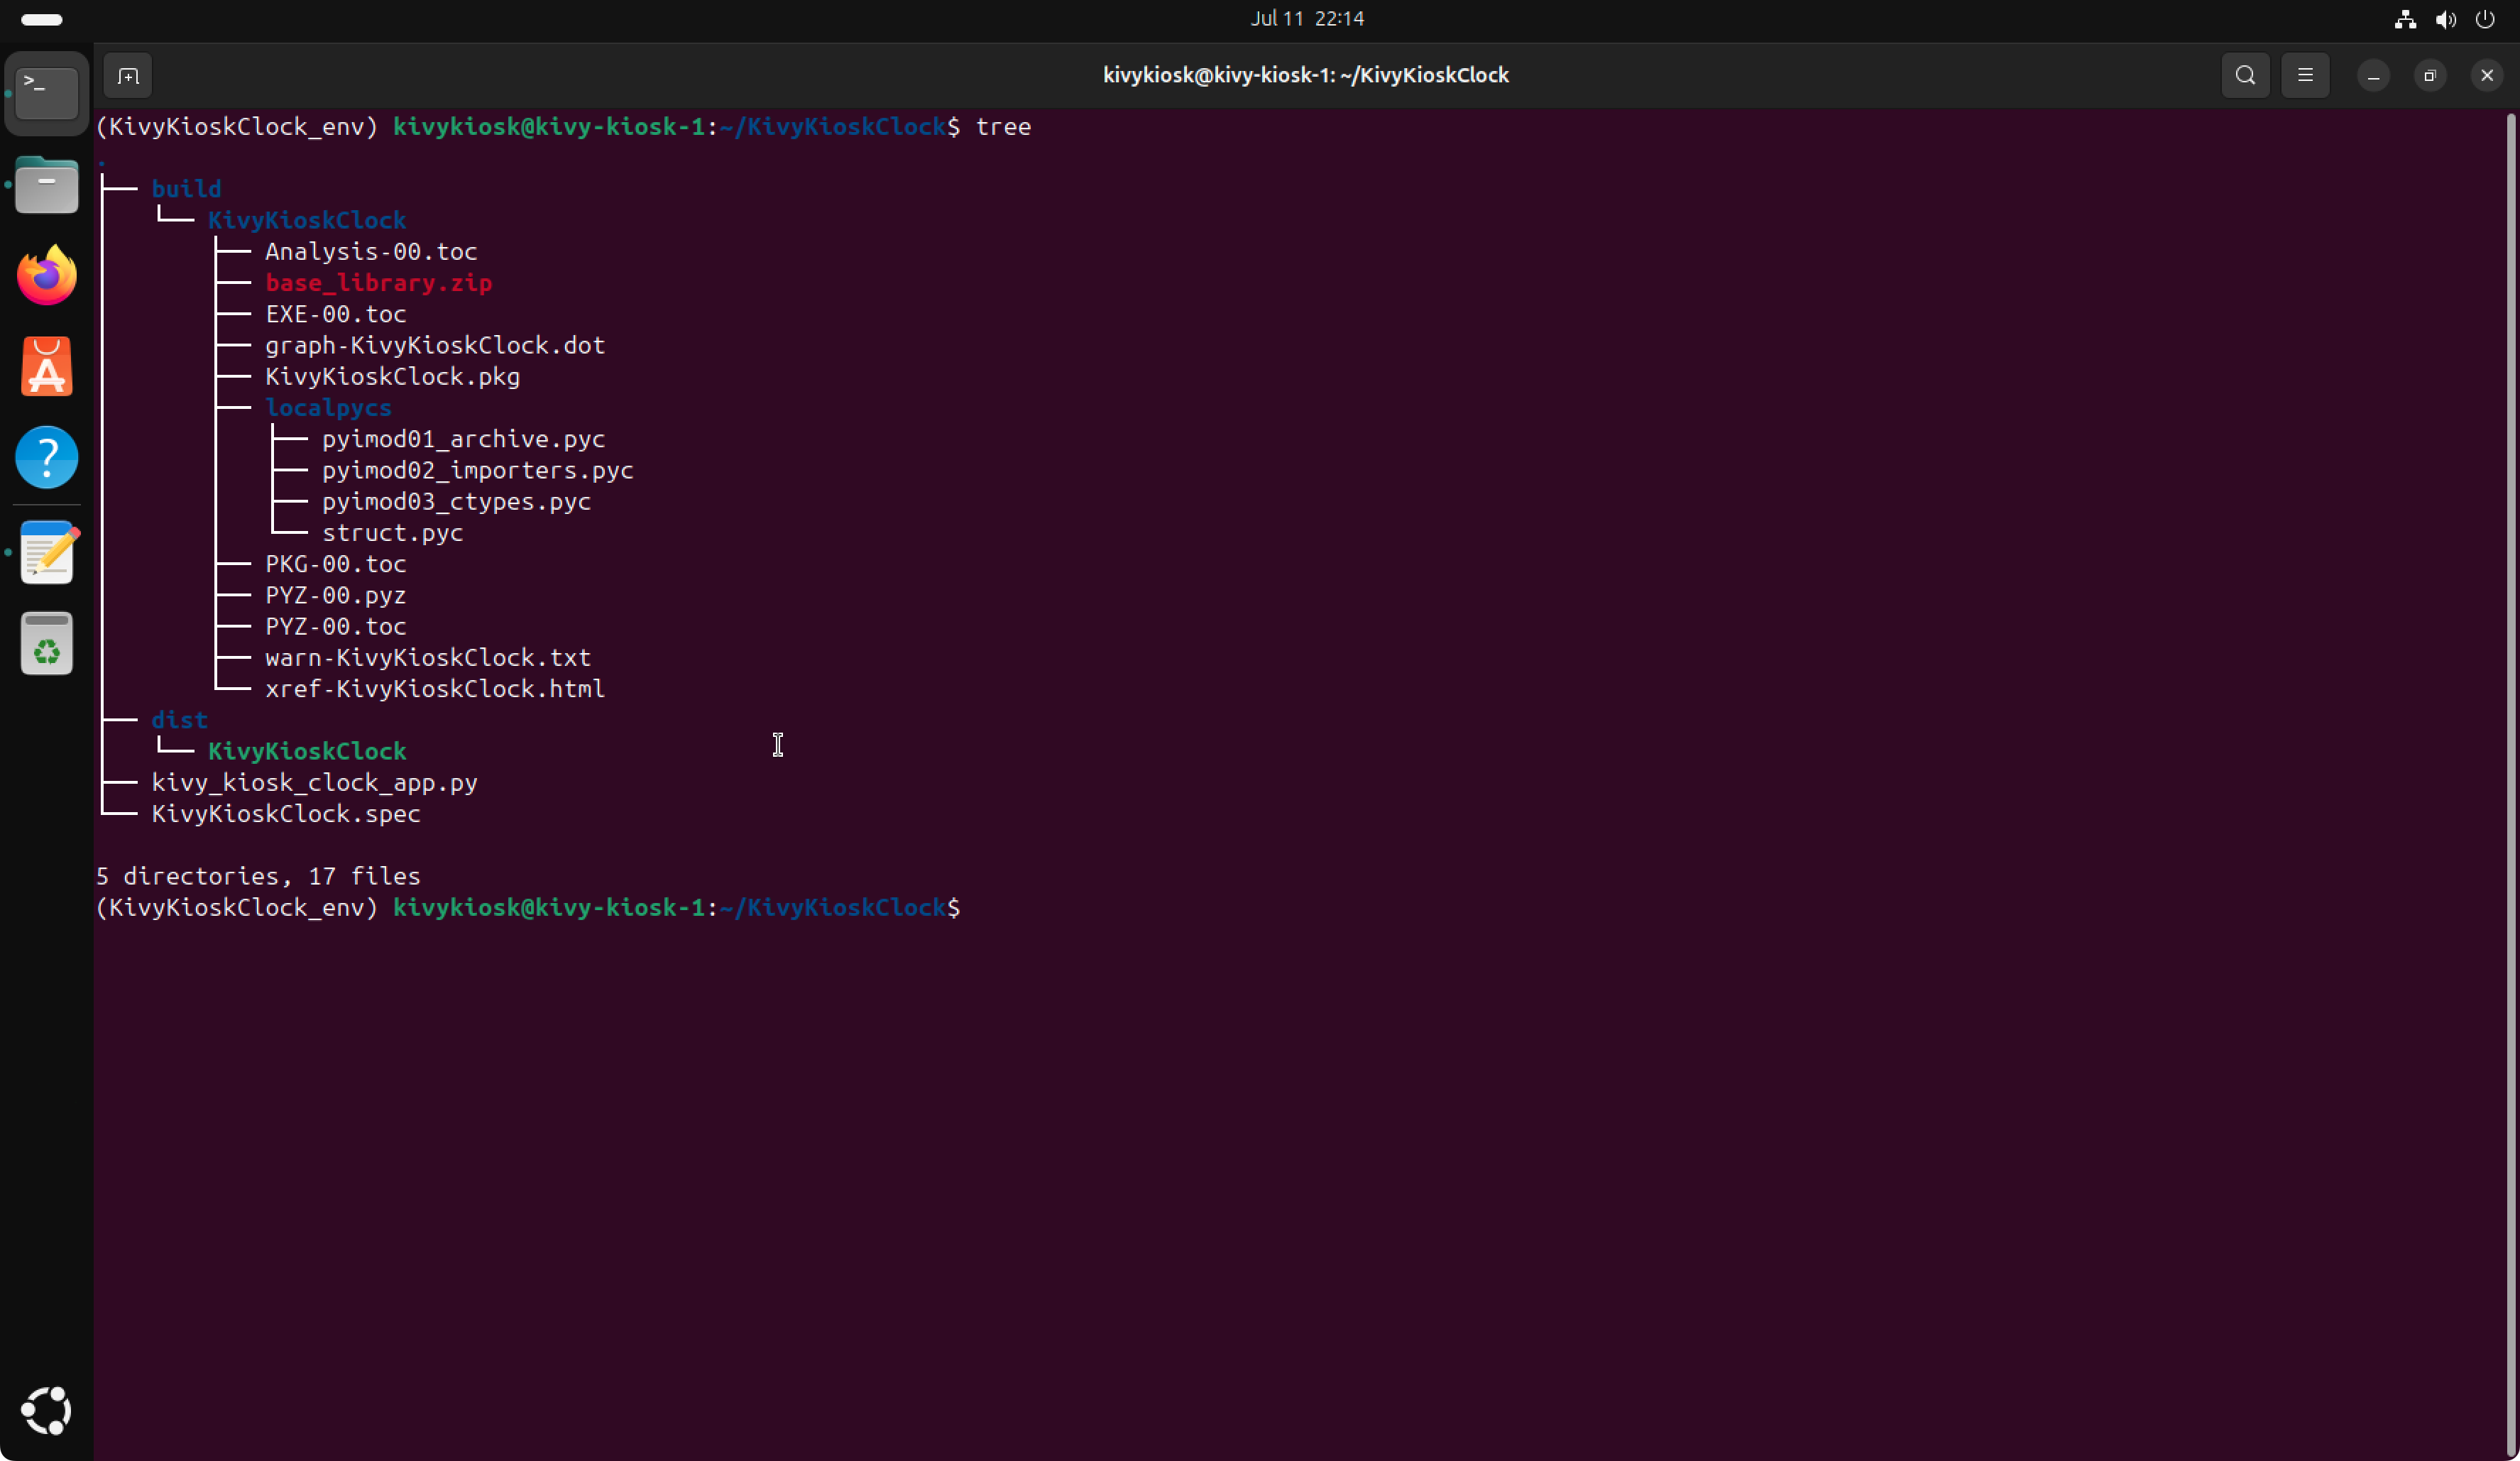
pyinstaller --onefile --name KivyKioskClock kivy_kiosk_clock_app.pyThis creates a single binary (--onefile) with the name KivyKioskClock from the source file kivy_kiosk_clock_app.py.
PyInstaller shows its output in the terminal and after a while you have your binary. Your project folder then looks like this, with the KivyKioskClock binary residing in ./dist.
Now deactivate your virtual Python environment and run the newly created binary. We don’t need the environment anymore because the KivyKioskClock binary is self-contained and runs without an external Python interpreter — PyInstaller embeds the interpreter right into the binary.
deactivate     # deactivates the current virtual python environment
./dist/KivyKioskClock     # runs the newly created binary
The app will launch and look and behave exactly as it did when run from the source in the Python virtual environment.
Now, we will install it by copying it to /opt/KivyKioskClockApp and attach it to the GNOME Kiosk session script.
Remember, in Part 1 – How to Set Up Ubuntu Linux as a Secure Kiosk or Self-Service Terminal – we defined /opt/ as the destination directory, because it is excluded from the overlayroot protection.
# First, change the owner of /opt/ to the user
# that will run the kiosk app in the future (kivykiosk in this example)
sudo chown -R kivykiosk:kivykiosk /opt/

# make a new directory for the app
mkdir -p /opt/KivyKioskClock/

# copy KivyKioskClock to its new run directory
cp ./dist/KivyKioskClock /opt/KivyKioskClock/KivyKioskClock
Adopted GNOME Kiosk session script to run KivyKioskClock app (installed in /opt/KivyKioskClock/):
#!/bin/sh

cd /opt/KivyKioskClock
./KivyKioskClock

sleep 1.0
exec "$0" "$@"
The GNOME Kiosk session script resides in ~/.local/bin/gnome-kiosk-script. Refer to Part 1: How to Set Up Ubuntu Linux as a Secure Kiosk or Self-Service Terminal if you'd like to know more about setting up a kiosk on Ubuntu Linux.
Line 3 changes the current working directory to /opt/KivyKioskClock. This makes sure that when you run your app, it runs from its installation folder. This is helpful if your app needs to find files relative to its own directory. Line 4 runs our KivyKioskClock app.
Line 6 pauses the script for 1 second. It gives a delay before restarting the script.
In line 7, exec replaces the current shell process with a new instance of the same script ($0 is the name of the script, $@ passes along any original arguments).
If our app exits (for example, it crashes), this line restarts the whole script – which restarts the kiosk app.
To test everything, make sure you activate the GNOME Kiosk session in /var/lib/AccountsService/users/kivykiosk
Cleanup
Clean up the files created by PyInstaller – this is optional, but recommended before trying out the pycompile method.
# assuming you're in your project directory: ~/KivyKioskClock
rm -rf ./build/
rm -rf ./dist
rm KivyKioskClock.spec
Freezing with pycompile
This method simply compiles Python *.py source files into Python bytecode (*.pyc files). To run a *.pyc file, you still need a Python interpreter available on your system. Here, we’re using the virtual environment we created earlier.
While Python bytecode (Python 3.9 and newer) is harder to decompile than before, it’s still not impossible. The decompiled result usually lacks comments and may not perfectly match the original source, but it can still reveal enough logic to expose how your program works internally.
# assuming you're in your project directory: ~/KivyKioskClock
# activate the virtualenv
source ../KivyKioskClock_env/bin/activate
# using python compileall module to compile all *.py to *.pyc files
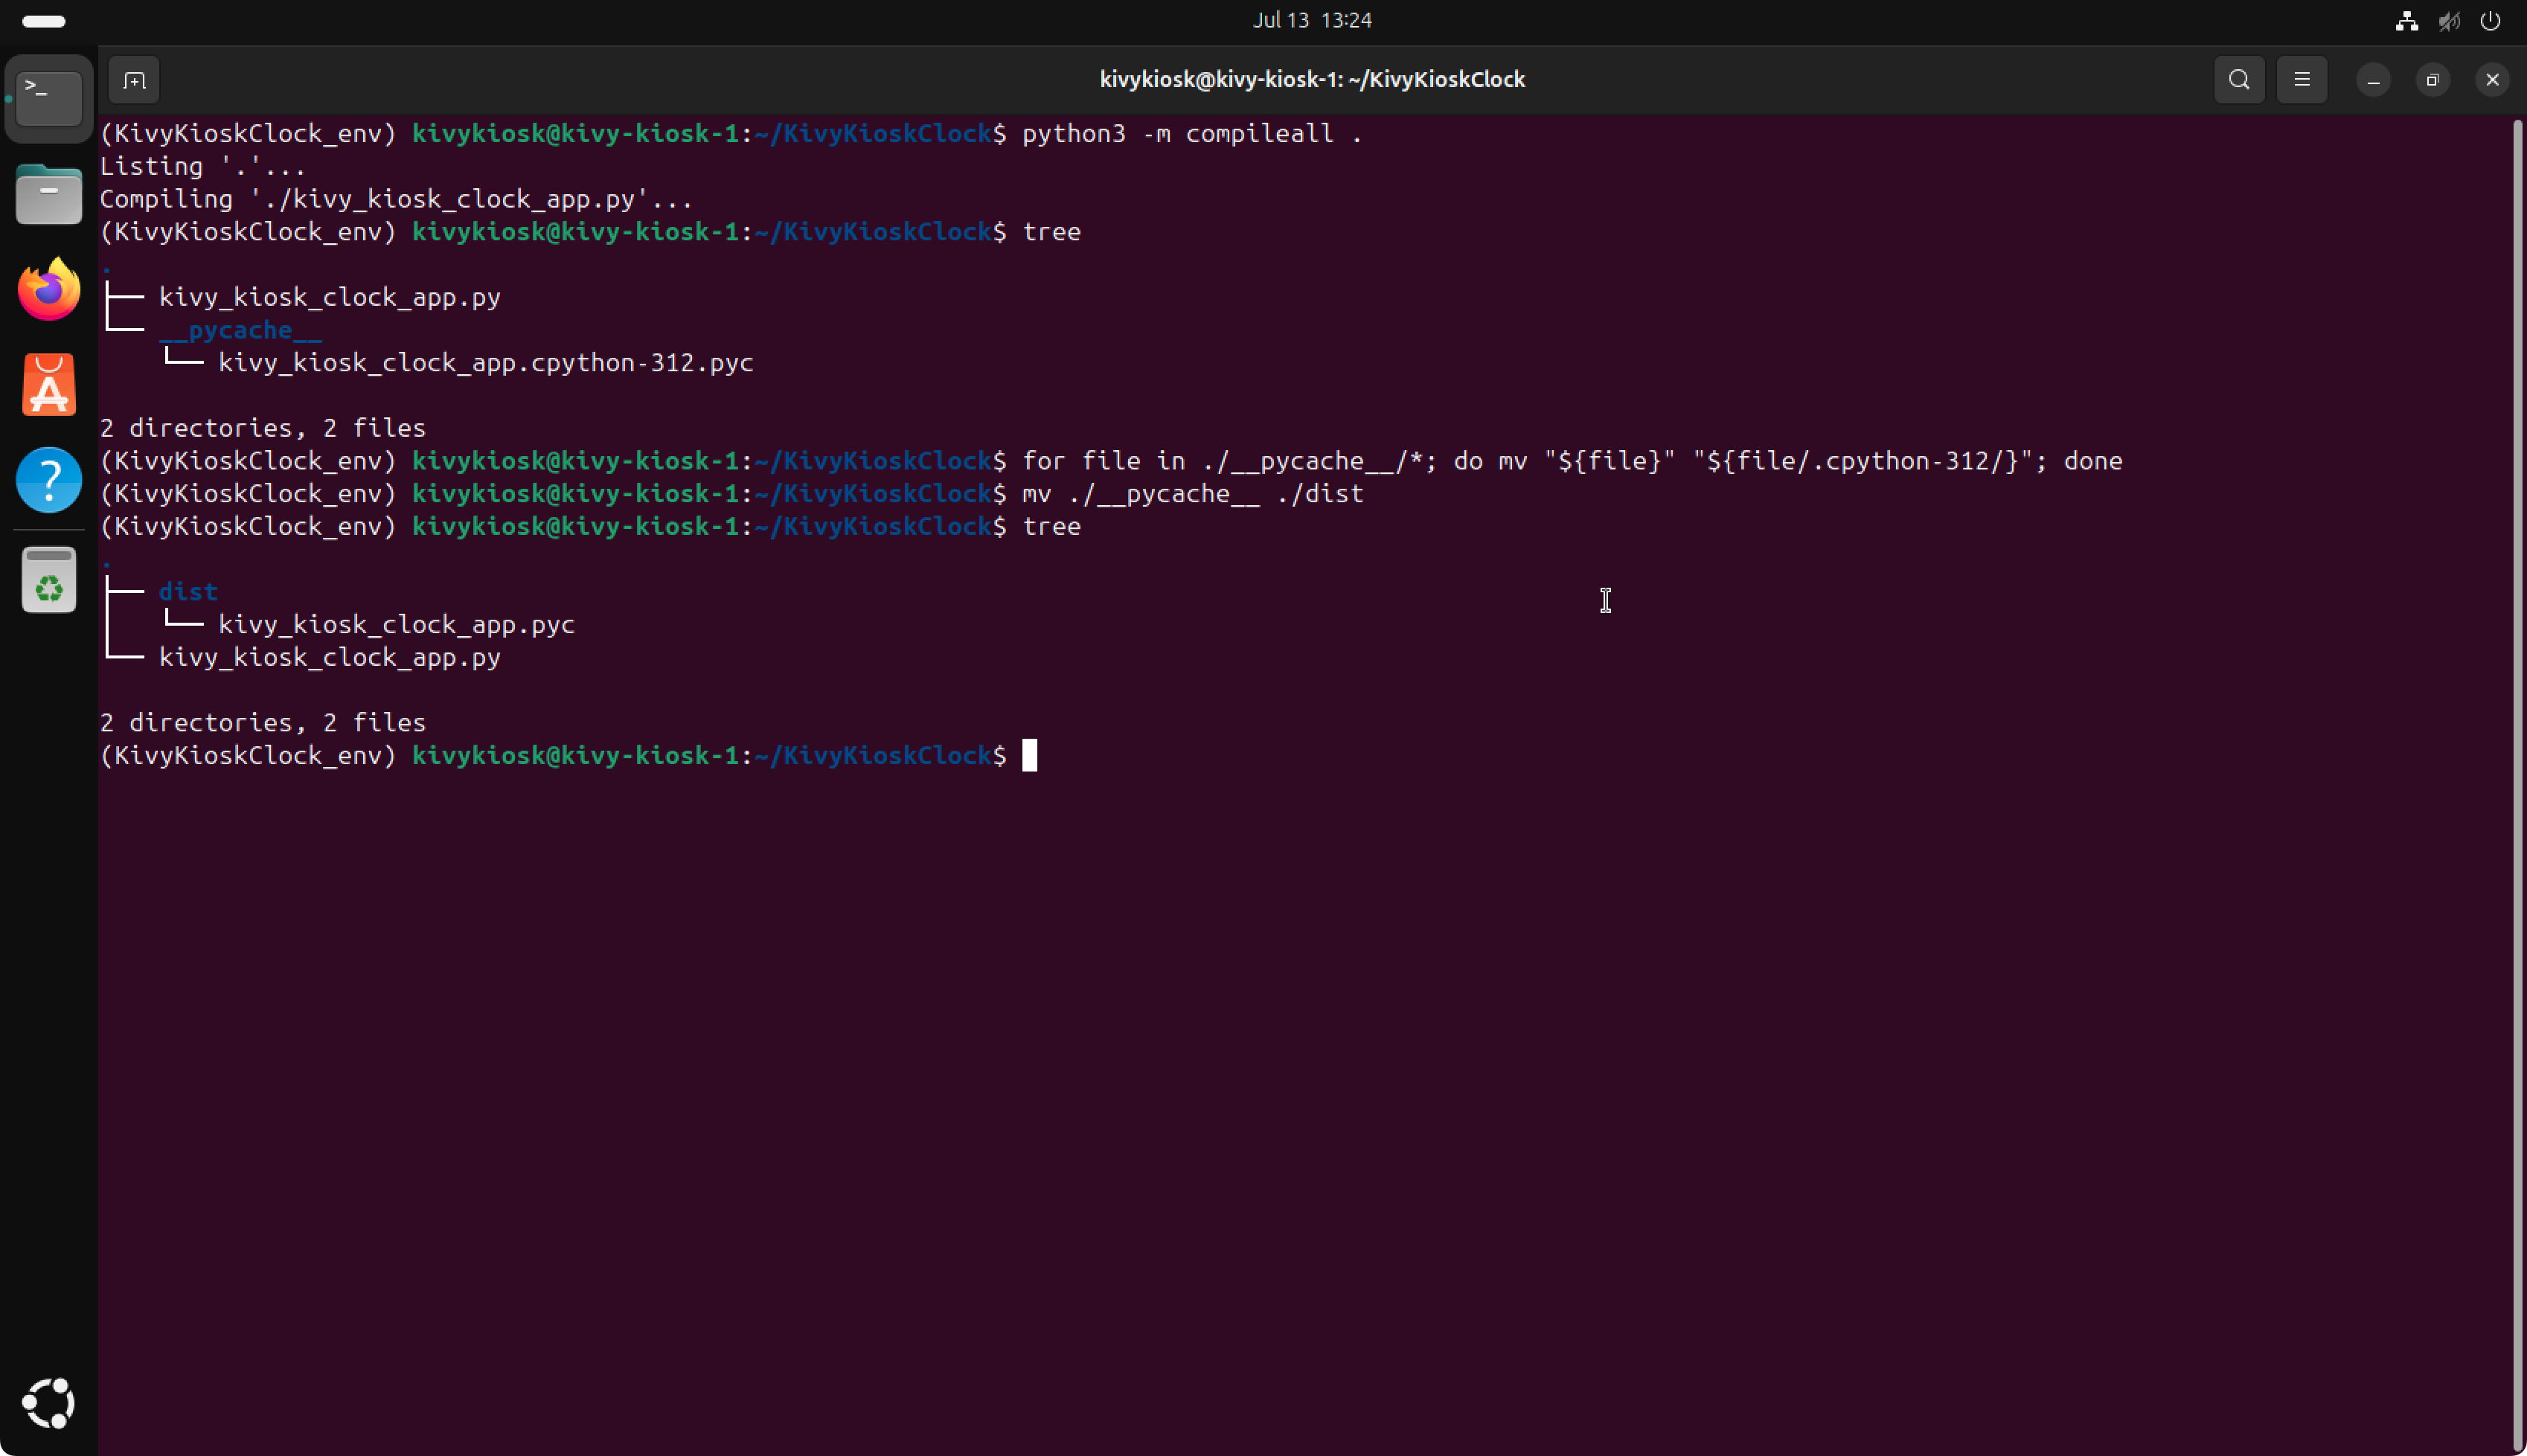
python3 -m compileall .
for file in ./__pycache__/*; do mv "${file}" "${file/.cpython-312/}"; done
mv ./__pycache__ ./dist
Line 6 compiles every *.py source file into a *.pyc bytecode file. These bytecode files are stored in a subdirectory named __pycache__ and include a postfix in their filename that corresponds to the Python interpreter version used to compile them.
Line 7 removes the postfix from every file found in __pycache__ and line 8 renames the __pycache__ folder to dist.
Make sure everything works by running the newly created *.pyc file:
# Run the *.pyc file, use the python interpreter from virtualenv
python3 ./dist/kivy_kiosk_clock_app.pyc

# Deactivate the virtualenv afterwards
deactivate
We'll now "install" the .pyc bytecode binary by copying it to our defined install location at /opt/KivyKioskClock/ (same location as with the pyinstaller-created binary). Let's start with a cleanup:
# remove everything from the install location
rm -rf /opt/KivyKioskClock/*

# copy pyc bytecode binary to the install location at /opt/KivyKioskClock/
cp dist/kivy_kiosk_clock_app.pyc /opt/KivyKioskClock/kivy_kiosk_clock_app.pyc
Now let’s update the GNOME Kiosk session script to run the .pyc bytecode file. Since all our app dependencies are inside the virtual environment, we’ll use the Python interpreter located there to run the app. Modify your GNOME Kiosk session script as follows:
#!/bin/sh

cd /opt/KivyKioskClock
~/KivyKioskClock_env/bin/python3 kivy_kiosk_clock_app.pyc

sleep 1.0
exec "$0" "$@"
Running KivyKioskClock from source
As stated above, there is no ultimate requirement to freeze or compile the app before attaching it to the GNOME Kiosk session script. We mainly did this to not disclose our source – which can be a requirement when doing contracting work.
Modify the GNOME Kiosk session script to run the app from our source directory:
#!/bin/sh

cd ~/KivyKioskClock
~/KivyKioskClock_env/bin/python3 kivy_kiosk_clock_app.py

sleep 1.0
exec "$0" "$@"
The GNOME Kiosk session script works almost the same for every case presented in this post:
- Moves to the right folder (install directory)
- Runs our kiosk app
- Waits briefly in case the app closes
- Loops back and starts the app again (in case the app was closed or crashed)
Closing Thoughts
That’s it! We went through the basic steps to run our own Python Kivy app as the main application that is powering our kiosk. We looked at two ways to deploy our app without disclosing the source code and at a third one, which is directly running the kiosk app from source.
This post is acting as a basic but solid starting point for kiosk applications running on Ubuntu Linux. From here, you can adapt and expand the project to match your specific requirements.
If you’d like to stay up to date with future technical guides and project insights, subscribe to my newsletter. I share practical knowledge, lessons learned, and updates – no spam, just interesting content for developers and engineers.